10 Wedding Invitation Planning Tips
Your wedding invitation is your guests' first peek into your wedding day, so you want to make it shine. Not sure where to begin? We've got 10 tips to help you with this uber important piece of your stationery right here.
1. Define Your Style
Along with listing the location and time of day, the invitation—and, more specifically, its style—hints to the formality of your wedding. You should have an idea of the type of event you're throwing—classic and elegant, casual and relaxed, or glam and modern—before you start shopping for stationery, so you can choose an invitation style that hits the same note. Then browse stationers' websites and others couples' wedding invitations to gather inspiration so you can give your stationer an idea of what you like. Start looking through magazines and Pinterest for designs that you love. Figuring out what styles you like will help you design the perfect invitations for your big day.
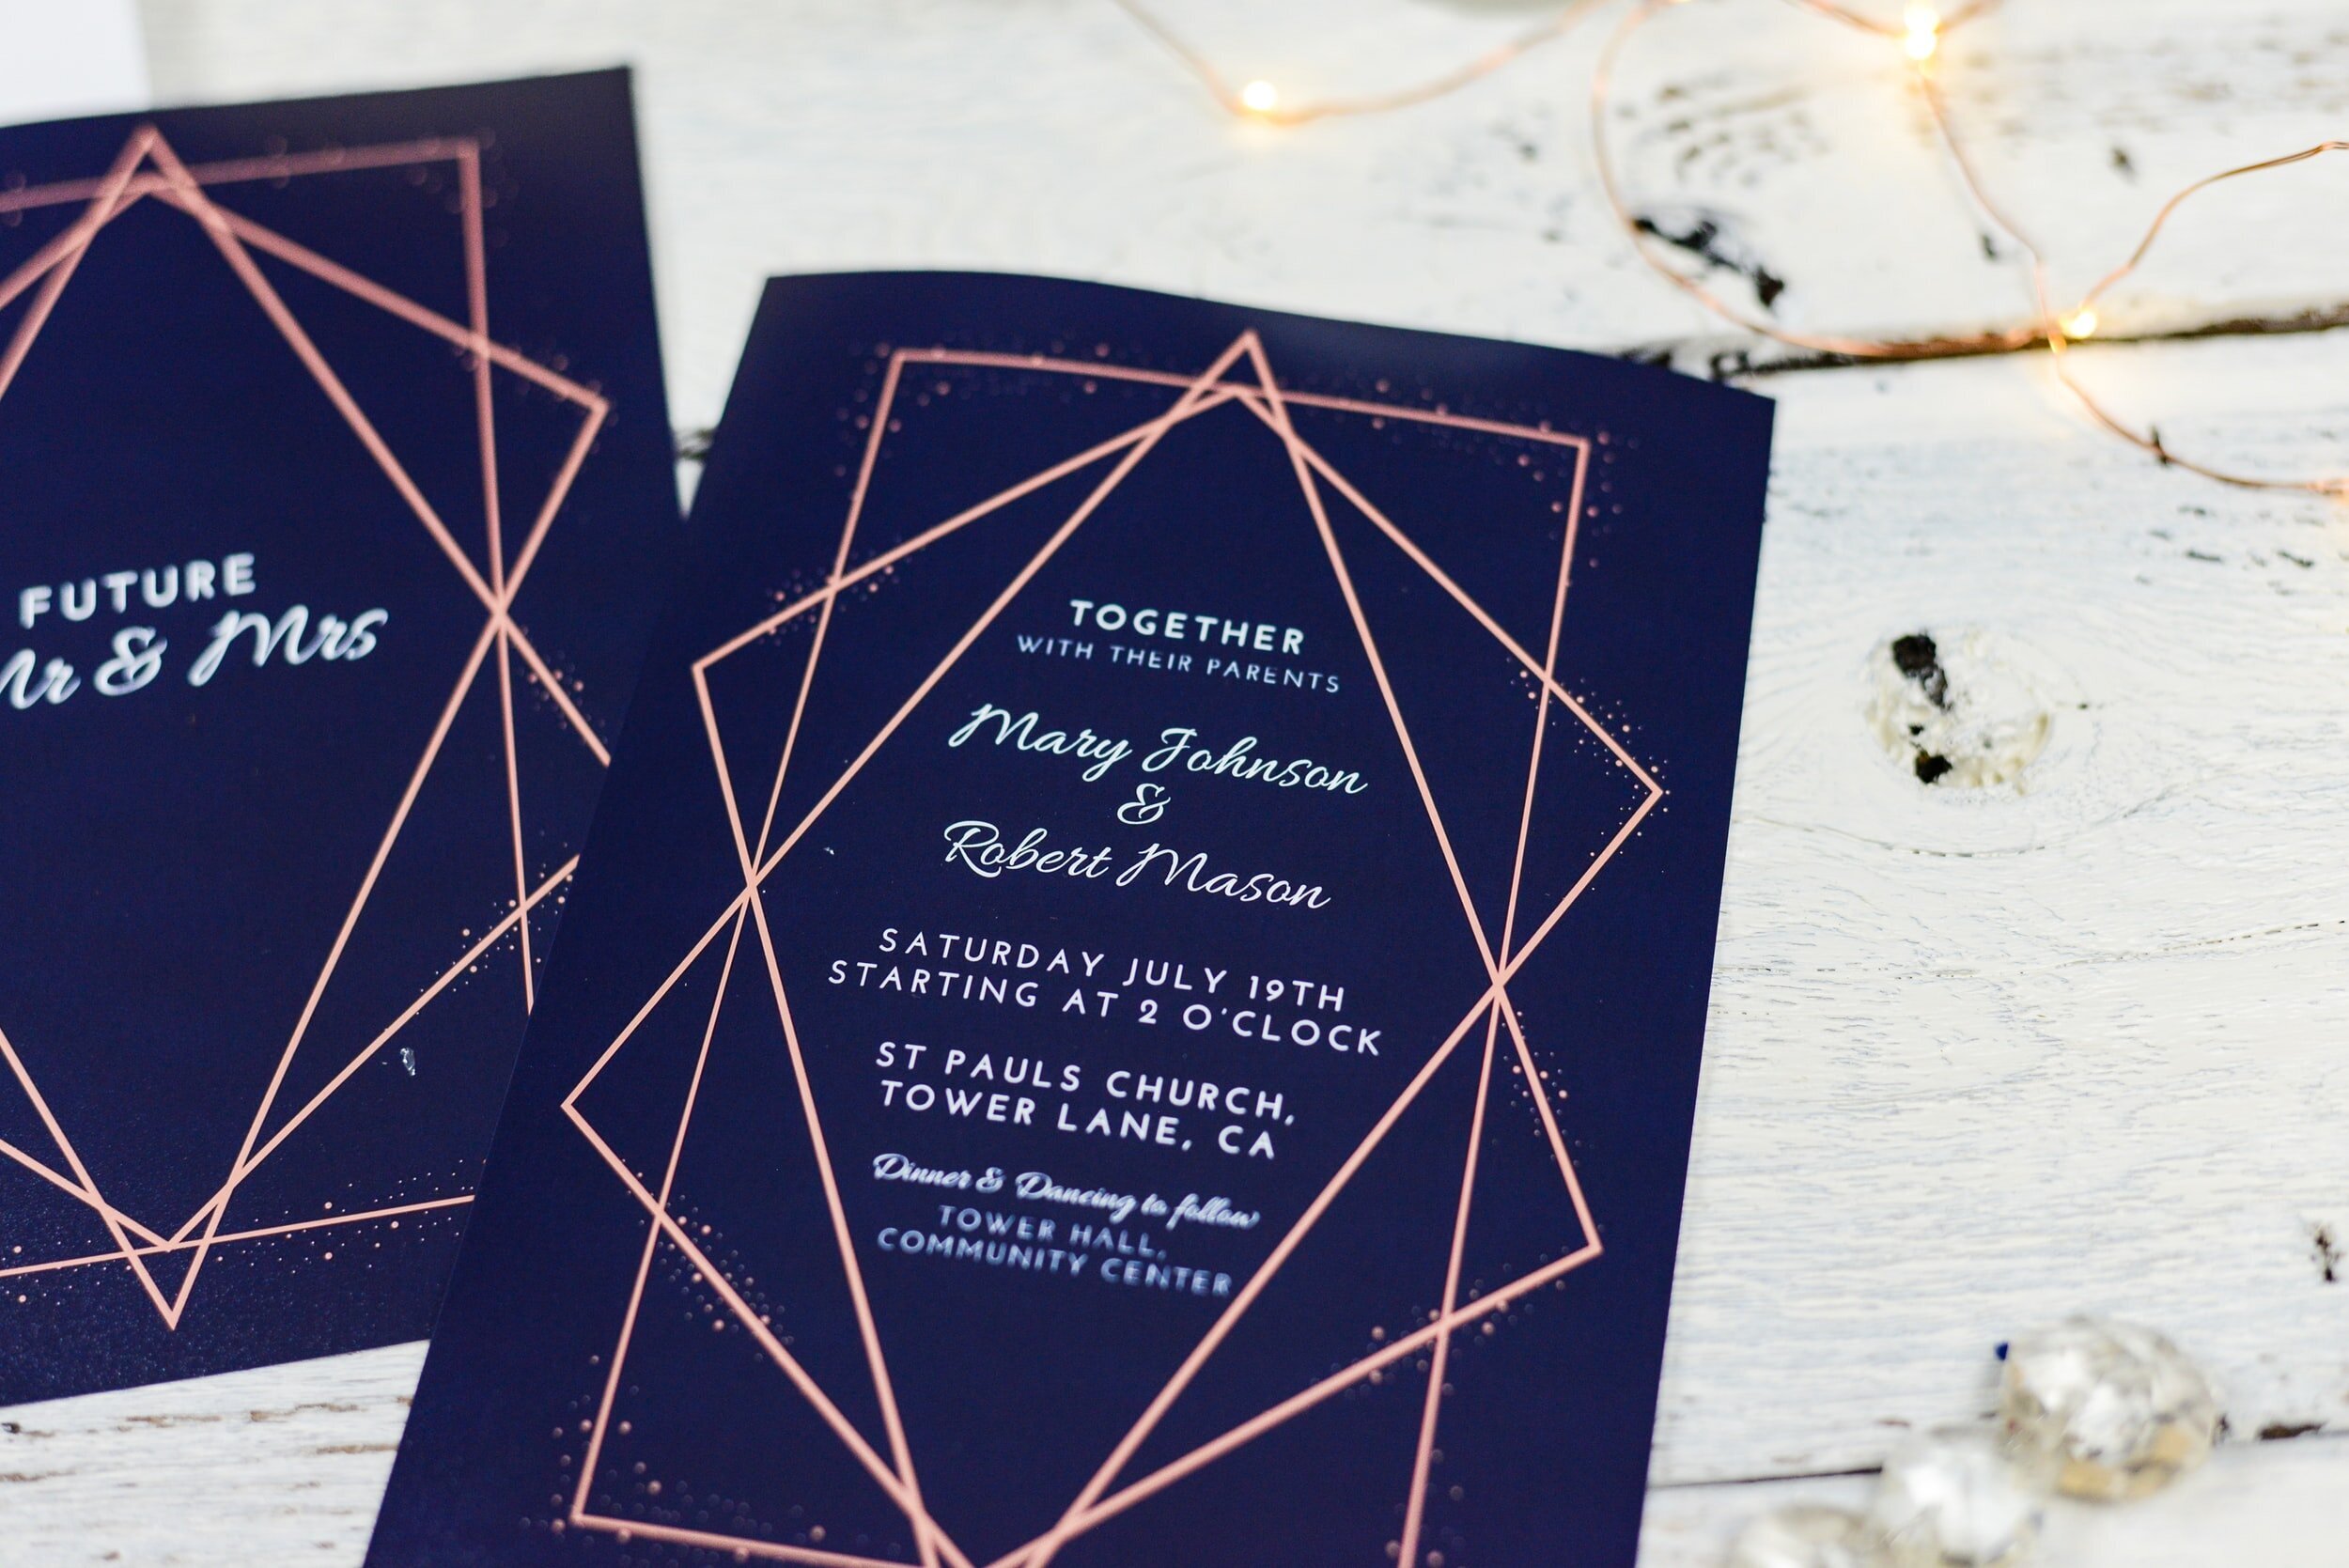
2. Know Your Colors
Think about your wedding colors too. You may want to incorporate your hues and a motif (if you have one) into your wedding invitations—and then carry them throughout the rest of your wedding paper (like the escort cards, menus and ceremony programs) for a cohesive look. While ivory, cream or white card stock paired with a black or gold font is the classic choice for formal wedding invitations, you can also brighten your invites with colorful or metallic fonts, paper stock, envelopes and liners. Just keep readability in mind when choosing your colors (more on that later).
3. Make sure they’re readable
Remember: the point of invitations is to communicate the date, time, and location of your wedding. If the color scheme or design makes these details hard to see, you might want to make some changes. Your stationer can help, but, in general, avoid light ink on light backgrounds and dark ink on dark backgrounds. Yellow and pastels are tough colors to read, so if you're going with those, make sure the background contrasts enough for the words to pop, or work those colors into the design rather than the text. Also, be wary of hard-to-read fonts like an overly scripted typeface—you don't want to sacrifice readability for pretty letters.

4. Choose Your Words Wisely
Learn the rules to wording your invitation. Traditionally, whoever is hosting is listed first on the invitation. Customarily, you should spell everything out, including the time of the ceremony. On classic wedding invitations, there's always a request line after the host's name—something like "so and so request the honor of your presence." The wording can change as the hosting situation does, so make sure to double-check you've added everyone who should be included.
5. Play Around with Shape and Size
invitations traditionally come in a 4.5-inch by 6.25-inch rectangular shape, but there are a variety of shapes and sizes available, including circular, square, and even scalloped edges. Don’t be afraid to try something new, but keep in mind that different sized invitations may cost more to mail.
6. Avoid clutter
Make sure to only include the essential info on your invites: ceremony time and location, your names, the dress code, and RSVP information. When it comes to things like directions to the venue, include those on your wedding website or a separate enclosure card.
7. Order extra
Instead of ordering the precise number of invitations you’ll need, order 25 to 30 extra, just in case. It's expensive to go back and print more invitations after the fact. Order enough invitations for your guest list , plus 25 extra in case you need to resend an invitation, want to put some aside as keepsakes (trust us, your moms will want at least a few) or plan on sending invitations to a B-list.
Tip: If you have a lengthy B-list, consider ordering a second set of invitations with a later RSVP date. And even if you're hiring a calligrapher to address your invitations, ask for extra envelopes in case of returned
8. The Envelopes Matter Just as Much
When you order your invitations, see if you can take the envelopes home immediately (or as soon as possible). That way, if you're having someone other than your stationer (say, a calligrapher) print the return addresses on your envelopes (most stationers print the return addresses for little or no charge; it's often even included in the suite's price), they can get a head start. While you don't have to hire a calligrapher to address your envelopes, we highly recommend it—it looks beautiful and makes an elegant first impression. Traditionally, addresses are handwritten, so unless you have impeccable handwriting, it's best to leave the envelopes to a pro. If you plan to do them yourselves, tackle the project in a few sittings to avoid sloppiness or mistakes. While using printed labels is an easy (and affordable) option, handwriting each address is not only more formal, it's also more personal. It shows your guests you want them to be at your wedding so much that you took the time to handwrite (or have a calligrapher hand-letter) their name and address on the envelope.
When it comes time to mail out your invites, look for stamps that match. Check the U.S. Postal Service website for wedding-themed stamps or ones that match your colors.
9. Don't Forget the Rest of Your Suite
Order your menus, programs and thank-you notes with your invitations. That way, your stationer can include all of the pieces in one order, which may save you money and time. It's also a good way to ensure all your stationery has a cohesive look, even if you want to vary the design slightly for each element (by switching the dominant color or alternating between two patterns, for example). Also, don't forget those little items like favor tags and welcome bag notes.
10. Plan Postage Accordingly
While you probably can't wait to drop those wedding invitations in the mail and check another thing off your to-do list, weighing a sample invitation (enclosures and all) at the post office first could save you many more to-dos later. Trust us, you don't want to deal with the hassle of invitations being returned because of insufficient postage. And while you're at the post office, ask about hand-canceling your invites. This involves a stamp that says your mail is processed (instead of running your invites through the processing machine like regular mail, which could bend or even ruin them). While hand-canceling is free, check with your local post office first to make sure that it has the hand stamp. And keep in mind that while most post offices try to keep hand-canceled mail separate from regular mail, there's no absolute guarantee your invitations won't go through the processing machines. To ensure they don't, you can pay a non-machinable
Bonus Tip
Put a Stamp on It
It may seem obvious, but it's easy to forget: If you want guests to mail back their reply cards, include stamped (and addressed) envelopes. That way they don't have to pay for the postage. Traditionally, the return envelopes should be addressed to whoever is hosting the wedding; however, if your parents are technically hosting, but you're keeping